Concrete driveways are known for their strength and durability, but over time, cracks can develop due to weather changes, ground movement, poor installation, or natural aging. These cracks, if left untreated, can lead to further damage and reduce the overall life and appearance of your driveway. This detailed article will guide you on how to repair cracks in concrete driveway surfaces effectively. Whether you’re dealing with hairline cracks or larger gaps, this natural and practical guide will help you restore your driveway’s condition.
Why Do Concrete Driveways Crack?
Before diving into the repair process, it’s important to understand why cracks appear in the first place. Some common causes include:
- Freeze-thaw cycles that cause expansion and contraction
- Heavy loads or repeated traffic over time
- Soil settlement or poor base compaction
- Improper curing during the original installation
- Tree root growth under the surface
Identifying the root cause helps determine the best repair method and prevents future issues.
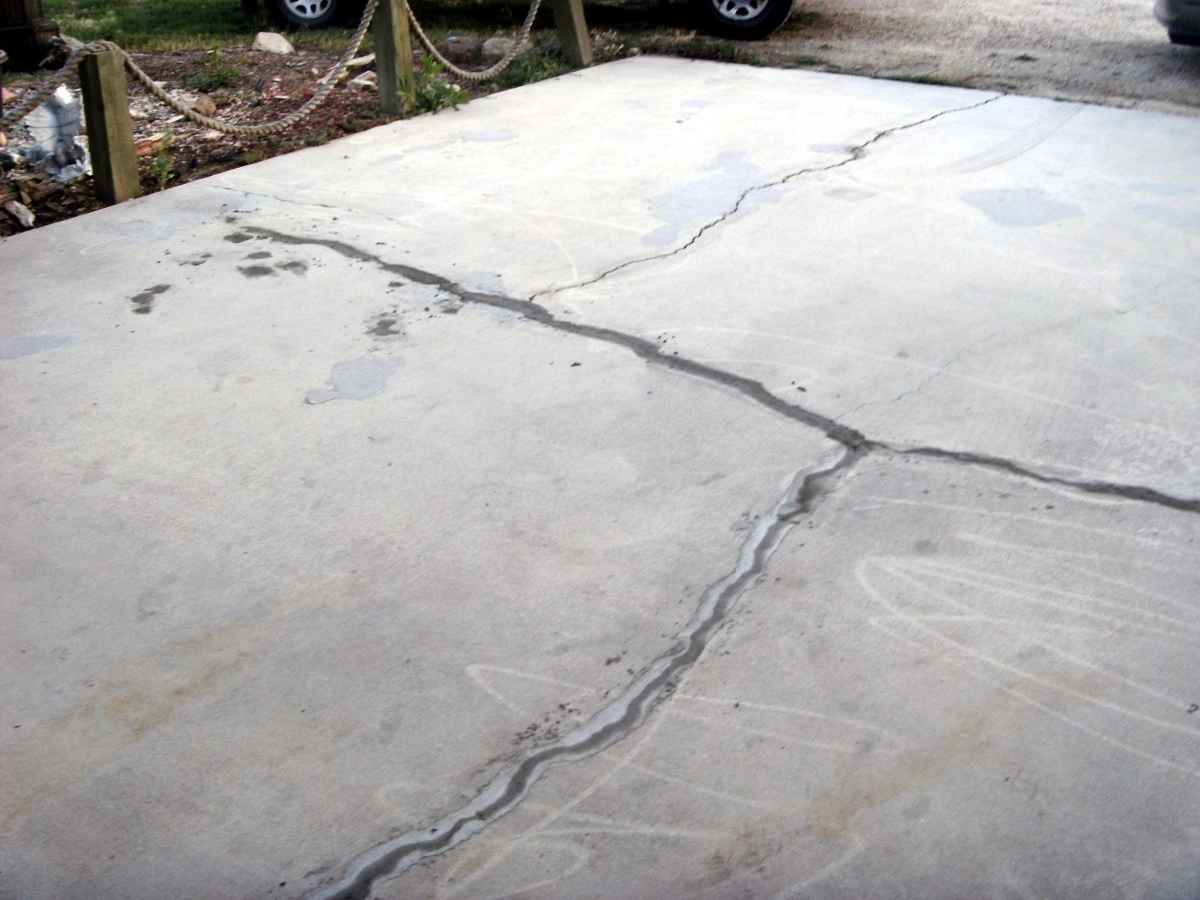
Types of Cracks and How to Identify Them
Understanding the type of crack in your driveway helps determine how serious it is and what materials you’ll need to fix it.
| Crack Type | Description | Suggested Repair Method |
|---|---|---|
| Hairline Cracks | Thin, surface-level cracks | Fill with liquid crack filler |
| Shrinkage Cracks | Small gaps due to curing and drying | Flexible crack sealant or patching compound |
| Expansion Cracks | Caused by temperature changes | Expansion joint sealants |
| Structural Cracks | Deep and wide, sometimes uneven surfaces | Professional assessment and full repair |
| Edge Cracks | Cracks along the edges of the driveway | Reinforce with patching and edge protection |
Tools and Materials You’ll Need
Before starting your repair, gather the right tools and products:
- Concrete crack filler or repair caulk
- Chisel and hammer
- Wire brush
- Pressure washer or hose
- Trowel or putty knife
- Concrete bonding adhesive
- Protective gloves and safety glasses
Step-by-Step: How to Repair Cracks in a Concrete Driveway
Step 1: Clean the Area
Begin by cleaning out the crack. Use a wire brush to remove any loose concrete or debris, and rinse with water. Let the crack dry completely before applying any filler.
Step 2: Prepare the Crack
For deeper or wider cracks, use a chisel and hammer to slightly widen the bottom of the crack. This helps create a V-shape that holds filler material more securely. Vacuum out dust or wash the crack again if needed.
Step 3: Apply Concrete Bonding Adhesive
If your repair product requires it, apply a bonding adhesive to the crack using a brush. This helps the new material adhere properly to the old concrete.
Step 4: Fill the Crack
Apply your chosen crack filler or patching compound according to the manufacturer’s instructions. For smaller cracks, a liquid crack filler or sealant will do. For larger cracks, use a concrete patching mix and smooth it with a trowel or putty knife.
Step 5: Smooth and Level the Surface
Once filled, smooth the surface to match the surrounding driveway. Feather the edges with a trowel so the patch blends in naturally. Let it set as directed.
Step 6: Let It Cure
Curing times can vary from a few hours to several days depending on the material used and weather conditions. Avoid walking or driving over the area until it’s fully cured.
Step 7: Apply a Sealant (Optional but Recommended)
Once your repair is complete and dry, consider applying a concrete sealant over the entire driveway. This protects it from future water infiltration and surface wear.
Maintenance Tips to Prevent Future Cracks
- Seal your driveway every 2–3 years
- Keep heavy vehicles off weak areas
- Remove standing water promptly
- Fix small cracks as soon as they appear
- Trim nearby tree roots if they’re causing lifting
Regular maintenance is key to avoiding costly repairs in the future.
Frequently Asked Questions
Q1: Can I repair cracks in my concrete driveway myself?
Yes, most minor cracks can be repaired with basic tools and store-bought fillers. For major structural cracks, professional help is recommended.
Q2: How do I know if a crack is serious?
Cracks wider than 1/4 inch, those that shift when stepped on, or that appear uneven, may indicate structural issues and should be inspected.
Q3: Is it necessary to seal a repaired crack?
Yes, sealing helps protect the repair from moisture, dirt, and further cracking.
Q4: Will patching a crack be visible?
Small cracks can be blended in well. Larger repairs may be noticeable but sealing the entire surface can help make the finish uniform.
Q5: How long will the repair last?
With proper materials and care, crack repairs can last for several years, especially if the driveway is regularly maintained.
Conclusion
Knowing how to repair cracks in concrete driveway surfaces is essential for preserving your property’s appearance and preventing long-term damage. Most small to medium cracks are simple to fix with the right preparation and tools. Timely repairs save money and maintain the safety and value of your driveway. For larger cracks or recurring issues, it’s best to consult a professional to evaluate the underlying problem.
Ready to Repair or Upgrade Your Driveway?
Contact Advanced Driveway Solutions today for expert concrete driveway repair services. We offer fast, reliable, and lasting solutions for all types of driveway cracks.