Advanced Driveway Solutions

How to Deal with Common Driveway Issues?

Your driveway is more than just a path to your garage—it’s the red carpet to your home, setting the stage for curb appeal and property value. However, it’s also exposed to the elements and subjected to constant wear, which can lead to a range of common issues. From unsightly cracks that mar its surface to potholes that threaten to trip up your tire, a driveway can encounter various problems that diminish its aesthetics, pose safety hazards, and decrease your property value. Learn How to Deal with Common Driveway Issues? The good news is that the right knowledge and care can prevent many of these issues. Understanding the root causes of driveway deterioration is the first step to keeping your drive in top shape. Whether it’s the relentless sun causing the colour to fade, the freeze-thaw cycle turning small cracks into big problems, or even de-icing products eating away at the surface, each issue has a preventive solution. Let’s dive in and lay the foundation for a driveway that stands the test of time. How to Deal with Common Driveway Issues? Understanding the common issues is crucial in taking preventative steps to avoid costly repairs and maintain the longevity and aesthetics of your driveway. Here are some of the most common driveway issues and how they can be prevented: 1. Cracking Cracking is a prevalent issue for driveways and can be a gateway to various structural problems if not addressed. Causes of Cracking Cracking in driveways is a common but avoidable nuisance. It can stem from: Temperature Fluctuations and Weather Conditions: The expanding and contracting of materials with changes in temperature can lead to cracks. Especially in regions with severe weather changes, driveways can crack under the pressure of the freeze-thaw cycle. Poor Installation or Inadequate Base: A driveway is only as sturdy as its foundation. If a driveway is laid on an uneven or insufficient base, the surface is more likely to crack under any pressure or shift in the ground. Prevention Tips To prevent cracking, certain steps need to be taken: Proper Installation with a Strong Foundation: A solid base is critical for the longevity of a driveway. During installation, ensure that the foundation is compact and level to provide the best support for the surface material. Regular Sealing and Prompt Repairs: Apply a high-quality sealant periodically to protect the driveway from water and weather damage. If small cracks appear, address them immediately to prevent them from expanding. Consideration of Climate-Appropriate Materials: Choosing the right materials for your region’s climate can greatly reduce the risk of cracking. For instance, in colder climates, materials that can withstand the freeze-thaw cycle without cracking are the better choice. 2. Potholes Driveway potholes are not just a problem for your vehicle’s suspension; they’re a symptom of the health of your driveway. Left unchecked, they can grow, causing more significant issues and leading to costly repairs. Formation of Potholes Water Infiltration and Freeze-Thaw Cycles: Potholes often start as small cracks which allow water to infiltrate. This water then expands as it freezes, exerting pressure that breaks the pavement apart. When the ice melts, it leaves behind a void where the pavement can collapse and form a pothole. Wear and Tear from Vehicles: The weight of cars and trucks passing over the same spot can put a strain on the driveway, particularly where water has weakened the surface. Over time, this wear and tear can lead to the development of potholes. Prevention Strategies To protect your driveway from potholes, consider these steps: Effective Drainage Solutions: Proper drainage is essential to prevent water from pooling and seeping into the pavement, thus preventing the freeze-thaw cycle that leads to potholes. Regular Inspection and Maintenance: Keeping an eye out for early signs of damage and addressing them quickly can prevent minor issues from escalating into potholes. Use of Durable Paving Materials: Opting for quality paving materials that can endure the rigours of weather and vehicles is an effective way to reduce the formation of potholes. Adhering to these prevention strategies can help maintain a smooth and durable driveway, saving you from the hassle and expense of dealing with potholes. 3. Fading and Discoloration Fading and discolouration of a driveway can detract from your home’s curb appeal and may signal surface wear that could lead to further damage if ignored. To preserve the pristine appearance and integrity of your driveway, it’s important to understand what causes this fading and how to prevent it. Reasons for Fading UV Exposure and Weather Elements: Just like the sun can damage your skin, it can also fade and weaken your driveway. Constant exposure to UV rays and various weather conditions can bleach out the colour and deteriorate the surface materials. Spillage of Chemicals and Oil: Driveways often become the accidental recipients of various chemical spills. Oil, gasoline, and other harsh substances can leave behind stains and discolouration and, over time, can eat away at the sealant and the pavement itself. Preventative Measures To combat fading and keep your driveway looking new, consider these actions: Application of Sealants and UV Protectants: Regularly applying a high-quality sealant can provide a barrier against the sun’s rays and other damaging weather elements. Prompt Cleaning of Spills and Stains: Quick action on spills, especially oil and chemicals, can prevent stains from setting and causing discolouration. Having a routine cleaning schedule can also prolong the life of your driveway’s surface. 4. Weeds and Grass Growth Weeds and grass can transform a sleek driveway into a dishevelled and unkempt space, potentially causing further damage if left unchecked. Tackling the root causes of this growth can keep your driveway pristine and prevent the expensive repairs that come with overgrown weeds. Causes of Weedy Growth Cracks and Gaps Allowing for Seed Penetration: Even the smallest cracks in your driveway can become a haven for weeds. Seeds blown by the wind find these cracks, take root, and can quickly grow into unsightly and damaging weeds. Overhanging Vegetation and Poor Edging: Vegetation overhanging

How To Hire A Driveway Contractor?

Are you planning a driveway project? Choosing the right contractor is crucial for success. You should know “How To Hire A Driveway Contractor” effectively. Selecting the right contractor can significantly impact your project’s outcome. From defining your project requirements to researching potential contractors, checking qualifications, reading reviews, and evaluating experience, we’ll cover every aspect of the selection process. We’ll also delve into crucial considerations like project timelines, payment terms, and contracts, ensuring you avoid common pitfalls and maintain a smooth working relationship. Plus, we’ll highlight the importance of warranties and after-service support. Let’s embark on your journey to find the perfect driveway contractor for your project! 9 Tips on How To Hire A Driveway Contractor These are 9 essential points to consider when hiring a driveway contractor 1. Define Your Project Requirements Before embarking on your search for a driveway contractor, it’s essential to have a clear understanding of your project’s specific requirements. Determine the type of driveway material you want (e.g., concrete, asphalt, pavers), the design or pattern you prefer, the size of the driveway, and any special features like borders or lighting. This initial step ensures that both you and potential contractors are on the same page regarding the scope of the project, making it easier to solicit accurate quotes and assess contractor suitability. 2. Research and Create a List Research is the foundation of your contractor search. Start by seeking recommendations from friends, family, or neighbors who have had similar driveway work done. Additionally, explore online directories and local business associations to identify potential contractors in your area. Create a list of candidates and ensure they are licensed, insured, and have a positive reputation within the community. 3. Check Credentials and Qualifications Verifying a contractor’s credentials and qualifications is crucial to meet legal and professional standards. Check if they hold the required licenses and permits for your region, as these regulations can vary. Confirm that they carry liability insurance to protect you in case of accidents or damage during the project. Ensuring these qualifications are in place gives you confidence in the contractor’s legitimacy and commitment to professional standards. 4. Read Reviews and Ask for References To gauge a contractor’s reputation and performance, read online reviews and testimonials from previous clients. Look for patterns of positive feedback and any concerns raised by customers. Additionally, request references from the contractor and contact past clients directly. This allows you to ask specific questions about their experiences and satisfaction with the contractor’s work. The insights gained from reviews and references can help you make an informed decision based on the contractor’s track record. 5. Conduct Interviews and Get Quotes Interviews and quotes are essential steps in the selection process. Schedule meetings with potential contractors to discuss your project in detail. During these interviews, ask about their approach to the work, the materials they recommend, and their estimated project timeline. Request detailed quotes that break down costs for materials, labor, and any additional expenses. Having multiple quotes enables you to compare and assess the value and professionalism of each contractor. 6. Evaluate Experience and Portfolio Assessing a contractor’s experience and past work is a vital aspect of your decision-making process. Inquire about their experience with driveway projects, including their expertise in the specific material you’ve chosen. Review their portfolio of completed projects, looking for examples that align with your design preferences and quality expectations. A well-established contractor with a diverse portfolio is more likely to have the expertise needed to execute your project successfully. 7. Discuss Timeline and Project Schedule Effective communication regarding project timelines is essential to avoid misunderstandings and meet your expectations. Clearly articulate your preferred start and completion dates, taking into account any special considerations such as weather constraints. Ask potential contractors about their availability and their ability to meet your schedule. A contractor who can align with your timeline will help you plan the project efficiently and minimize disruptions. 8. Understand Payment Terms and Contracts Understanding payment terms and having a formal contract in place is critical for both parties’ protection. Discuss the contractor’s payment structure, which typically includes initial deposits and installment payments based on project milestones. Request a written contract that outlines all project details, costs, materials, and timelines. This contract serves as a legally binding agreement that provides clarity and accountability throughout the project, helping to prevent disputes and miscommunications. 9. Confirm Warranty and After-Service Support Inquire about the warranty and after-service support offered by the contractor. Understand the terms and duration of the warranty for the driveway work, including coverage for any defects or issues that may arise after completion. Clarify what kind of post-project support the contractor provides, such as addressing any concerns or issues that may surface once the driveway is in use. A reputable contractor will stand by their work and offer adequate warranties and support to ensure your satisfaction and the longevity of your driveway. Also Read: How to Deal with Common Driveway Issues? Questions to Ask a Driveway Concrete Contractor Are you licensed and insured? Can you provide references and examples of past projects? What is your experience with concrete driveways? What is the recommended concrete mix for my driveway? How will you prepare the site and handle excavation (if needed)? What is the estimated timeline for my project? Can you provide a written and itemized estimate? What is your payment schedule? Do you offer any warranties or guarantees? How will you handle potential issues or changes during the project? Conclusion Hiring the right driveway contractor is a pivotal decision in ensuring the success of your driveway project. By following the comprehensive steps outlined in this guide, you can navigate the selection process with confidence and clarity. From defining your project requirements to conducting thorough research, checking credentials, and evaluating experience, each step serves as a critical building block toward securing a contractor who aligns with your vision and expectations. Discussions about timelines, payment terms, and the importance of a well-defined contract underscore the significance of open

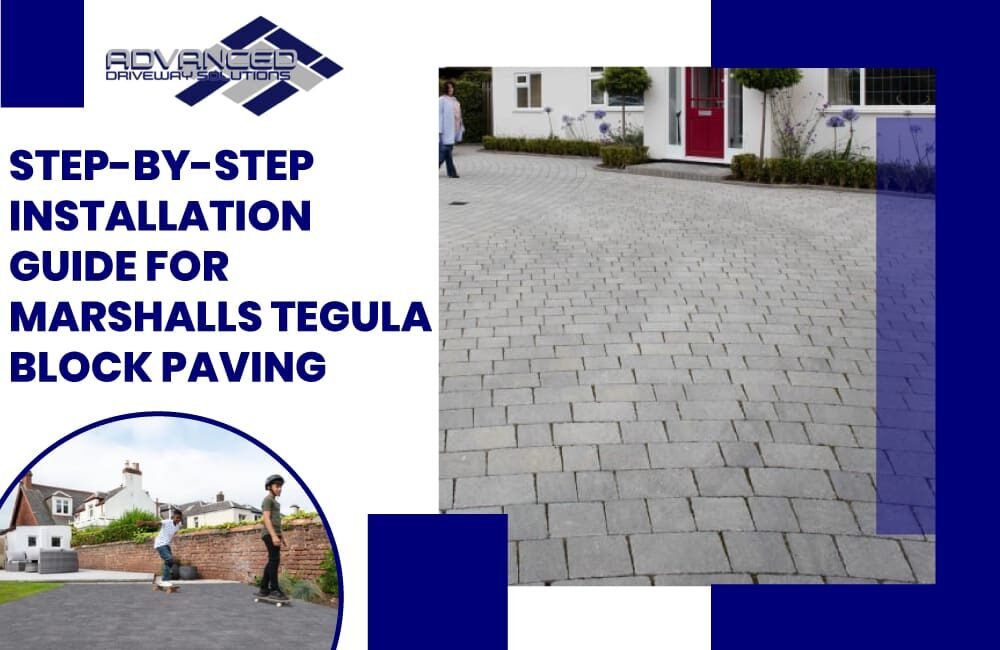
Step-by-Step Installation Guide for Marshalls Tegula Block Paving

Step by Step Installation Guide for Marshalls Tegula Block Paving Service in Morecambe UK

When we think of modern landscaping, the importance of the groundwork often goes unnoticed. Yet, the paving beneath our feet provides stability, adds charm, and complements the greens and blooms of our gardens. Enter Marshalls Tegula Block Paving: a method that’s not just about laying stones but creating visually appealing and durable pathways and patios that elevate a space’s entire look and feel. Over the years, block paving has become integral to contemporary landscaping. It’s not just about function; it’s about crafting beautiful outdoor spaces that are built to last. And when we talk about longevity combined with beauty, one brand stands out—Marshalls. Marshalls is not just another name in the world of paving; it’s a hallmark of quality. For instance, their Tegula block paving range beautifully encapsulates what the brand is all about. Known for its tasteful appearance and robust design, Tegula is a perfect blend of tradition and modernity. As we journey through this article, we’ll explore the nuances of Marshalls Tegula block paving and discover why it’s a top choice for homeowners and professionals alike. What is Marshalls’ Tegula Block Paving? Marshalls Tegula Block Paving is a premium range of block paving products offered by Marshalls, renowned for its aged appearance that is designed to create a timeworn look. Made with durability in mind, Tegula blocks are often chosen for their distinctive, weathered aesthetics and long-lasting performance, suitable for driveways, patios, and pathways. Benefits of Choosing Marshalls Tegula Block Paving Marshalls is a reputable brand in the landscaping industry, known for producing high-quality products. Their Tegula block paving is particularly popular among homeowners and businesses for a variety of reasons. Here are some of the benefits of choosing Marshalls Tegula block paving: Durable and Long-lasting Tegula block paving is manufactured to withstand heavy use over time. Its durability ensures that it remains resistant to wear and tear, making it a long-term investment. Aesthetically Pleasing Tegula blocks have a timeless and rustic appearance that can enhance the look of driveways, patios, and pathways. Their unique design and colours can complement various architectural styles. Versatile Design Options Marshalls Tegula block paving comes in a variety of sizes, colours, and finishes, allowing homeowners to customize their outdoor spaces according to their preferences. Low Maintenance Once installed, Tegula block paving requires minimal maintenance. Any dirt or debris can be easily swept away, and the blocks retain their colour and finish even after years of exposure to the elements. Environmentally Friendly The manufacturing process of Tegula block paving is designed to have a reduced carbon footprint. Additionally, the blocks are permeable, which means they allow water to pass through, reducing the risk of surface water runoff and potential flooding. High Load Bearing Capacity Tegula block paving is robust and can support heavy loads, making it suitable for both residential driveways and commercial spaces with high traffic. Weed Resistant The way Tegula block paving is laid, along with its tight interlocking design, reduces the chances of weed growth between the blocks. Safety The textured surface of Tegula blocks provides good traction, reducing the risk of slipping, especially during wet conditions. Consistent Quality Marshalls has stringent quality control measures in place, ensuring that every Tegula block paving product meets its high standards. Enhanced Property Value Investing in high-quality block paving like Marshalls Tegula can enhance a property’s curb appeal and value. Installation Guide: Steps to Perfect Tegula Block Paving Following is the simplified 10-step guide to installing Tegula block paving: Site Preparation Begin by marking out the area where you want the paving to be. Remove any plants, debris, or existing structures to clear the space. Dig down to the required depth, generally around 200-250mm, for driveways to account for the sub-base, sand, and block thickness. Install Edge Restraints Lay down the edging stones or kerbs around the perimeter. This will provide the necessary restraint for the block paving. Secure them using a concrete haunching to keep them firmly in place. Lay the Sub-Base Spread a layer of crushed stone or MOT Type 1 to a thickness of about 100-150mm (for driveways). Compact it using a mechanical compactor to provide a sturdy base. Ensure it’s level and slightly sloping for drainage. Install a Geotextile Membrane You can lay a geotextile fabric over the sub-base to prevent weed growth and further stabilize the foundation. Lay the Sand Bedding Spread a layer of sharp sand to a depth of around 40mm. Level the sand using screeding rails and a straight edge, ensuring it’s even and smooth. Lay the Tegula Blocks Begin laying the Tegula blocks starting from a corner or straight edge, following your desired pattern. Use spacers or string lines to ensure straight and consistent lines. Cutting Blocks You might need to cut some blocks for edges or specific design elements. Use a block splitter or a diamond-blade saw for precise cuts. Always wear safety equipment. Compact the Blocks Once all the blocks are laid, run a compactor over the surface. This will ensure the blocks are fully bedded into the sand. Using a rubber mat on the compactor is a good idea to avoid direct contact and potential damage to the blocks. Jointing and Finishing Fill the joints between the blocks with kiln-dried sand. Brush it into the gaps using a soft broom. Compact the surface again to help the sand settle into the joints. Final Cleanup and Sealing Sweep away any excess sand and debris. You can also apply a sealant over the paved area to enhance durability, resist stains, and maintain the fresh look of the blocks for a longer time. Also Read: Do You Need Planning Permission for Driveways? Common Mistakes to Avoid When Installing Tegula Block Paving Inadequate Ground Prep: Don’t rush the base preparation. A weak base can cause sinking and uneven blocks. Ignoring Drainage: Always account for water runoff. Neglecting drainage can result in water pooling on the surface. Incorrect Sand Thickness: Use a consistent 40mm sand layer. Too much or too little can destabilize the blocks. Rushing

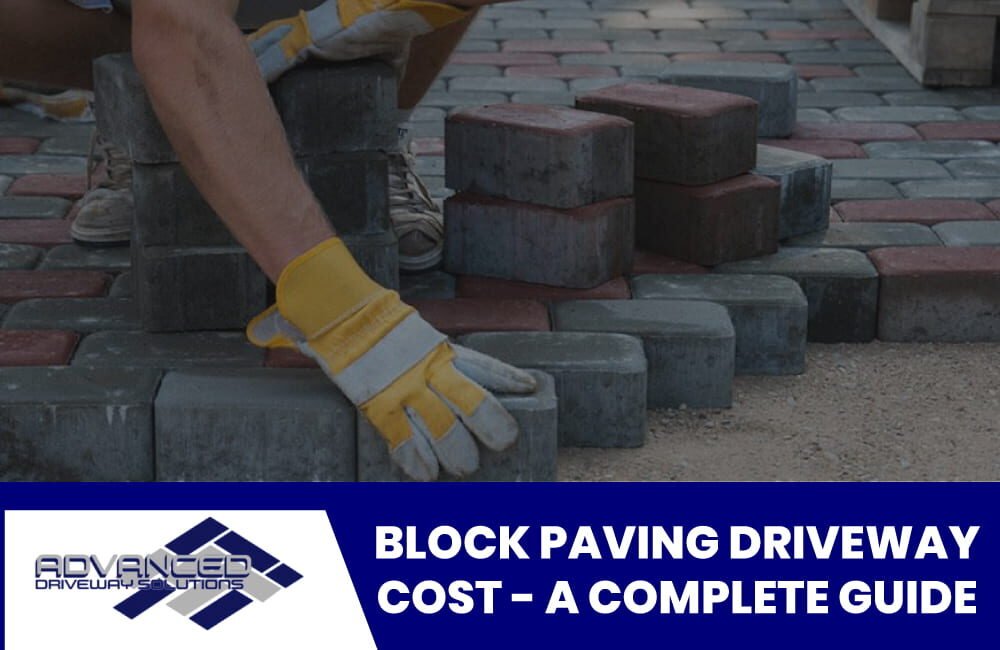
Block Paving Driveway Cost –  A Complete Guide

Block Paving Driveway Cost A Complete Guide in Morecambe UK

For residents of Morecambe, enhancing the frontage of their homes often beckons the alluring world of block paving driveways. Not only do they elevate the aesthetic quotient, but their resilience ensures a driveway that stands the test of time. Yet, when you’re in the picturesque coastal town of Morecambe, the question isn’t just about block paving. It’s “What’s the Block Paving Driveway Cost in Morecambe?” Every homeowner wants to strike a balance between obtaining that gorgeous driveway and ensuring it doesn’t break the bank. Costs can indeed vary, influenced by design intricacies, material choices, and local labour rates. Whether you’re a Morecambe native looking to give your home a facelift or someone considering a move to this beautiful town, it’s imperative to get a handle on the financial aspect of such an investment. Get insight into the specific factors that shape the Block Paving Driveway Cost in Morecambe, ensuring you’re well-equipped to make an informed decision. How Much Would it Cost to Block Pave My Drive? In the UK, block paving has remained a popular choice for homeowners due to its durability and visual appeal. Prices can fluctuate depending on the quality of materials chosen and the complexity of the design. As a rough estimate, a standard-sized driveway of about 50 square meters could cost anywhere from £2,000 to £5,000, or even more, based on the average pricing mentioned. Budgeting a bit more than the estimated cost is always wise to account for any unforeseen expenses. While the initial outlay might seem significant, a well-paved driveway can enhance property value and curb appeal, proving to be a worthy investment in the long run. However, consulting local providers will yield the best results for the most precise figure tailored to your specific needs. Factors affecting the cost of paving a driveway Paving a driveway is an investment that not only improves the aesthetics of a property but also its functionality and value. The cost of such a project can vary widely based on several factors. Understanding these elements can help homeowners make informed decisions and budget appropriately. 1. Material Choice The type of material chosen is one of the primary determinants of cost. Common materials like asphalt or gravel tend to be more affordable than brick, cobblestone, or high-end natural stones like granite. Each material has its own price point, maintenance needs, and lifespan. 2. Size and Thickness Naturally, larger driveways require more materials and labour, increasing the total cost. Additionally, the thickness of the paving material, especially in cases like concrete or asphalt, can influence the price. 3. Labor Costs Labour costs can vary based on the region, the workforce’s experience, and the job’s complexity. Some intricate designs or patterns may need skilled artisans, which can elevate the labour expenses. 4. Drainage Needs Proper drainage is crucial for the longevity of a driveway. If additional work is needed to ensure efficient water runoff, like installing drains or creating slopes, this can add to the project’s cost. 5. Base Preparation A solid foundation is essential for a durable driveway. Depending on the current state of the driveway area, significant excavation, grading, or the addition of a gravel base might be necessary, affecting the overall price. 6. Geographical Location Prices for materials and labour can vary based on the location. For instance, remote areas might incur higher transportation fees for materials. 7. Existing Driveway Removal If an existing driveway needs to be removed or repaired, this can add to the project’s expenses. The process might involve breaking down old materials and ensuring the area is ready for new installation. How Much is a New Driveway in The UK? For an average driveway size of around 50 square metres, you’re looking at costs ranging from £1,000 (for essential gravel driveways) up to £5,000 or more (for high-end block paving or concrete driveways). These are rough estimates, and actual prices can differ based on various factors. Always obtain multiple quotes from local contractors for the most accurate and up-to-date pricing. Cost for Different Types Of Paving Driveways When evaluating the expense of block paving driveways, it’s vital to understand that costs can fluctuate based on various factors, from the materials chosen to the intricacies of the job at hand. Here’s a breakdown: Common Block Paving Materials Different materials can be used for block paving, each with its own aesthetic and functional attributes. These include bricks, concrete blocks, natural stone, and more. The choice of material can significantly influence the driveway’s appearance, durability, and overall cost. Block Paving Costs By Job Type The specific task being undertaken, whether it’s a new installation, repair, or replacement, can alter the costs. Replacing or repairing specific sections is less expensive than paving an entirely new driveway. Block Paving Cost Per m² (Square Metre) This provides a standardised measure, helping homeowners estimate the cost based on the size of their driveway. The price per square metre will vary depending on the chosen material, design complexity, and regional factors. Permeable Block Paving Prices Permeable block paving allows water to seep through, aiding in drainage and reducing water runoff. These specialised blocks often come at a premium due to their ecological benefits and technical design. Block Paving Bricks Prices Traditional block paving bricks are widely used due to their classic appearance and reliability. The cost can vary based on the quality, colour, and pattern of the bricks chosen. Concrete Block Paving Cost Concrete blocks are durable and can mimic the appearance of various materials. They are often more cost-effective than natural stone, but the price can differ based on the finish and quality. Block Paving Labour Costs Labour typically constitutes a significant portion of the overall cost. Rates can vary based on the experience of the workforce, the region, and the intricacies of the job. Skilled artisans may charge a premium, especially for intricate designs. What Additional Costs are Involved with Block Paving Installation? Several additional expenses can emerge when installing block paving besides the direct costs of materials and labour. Here’s an overview

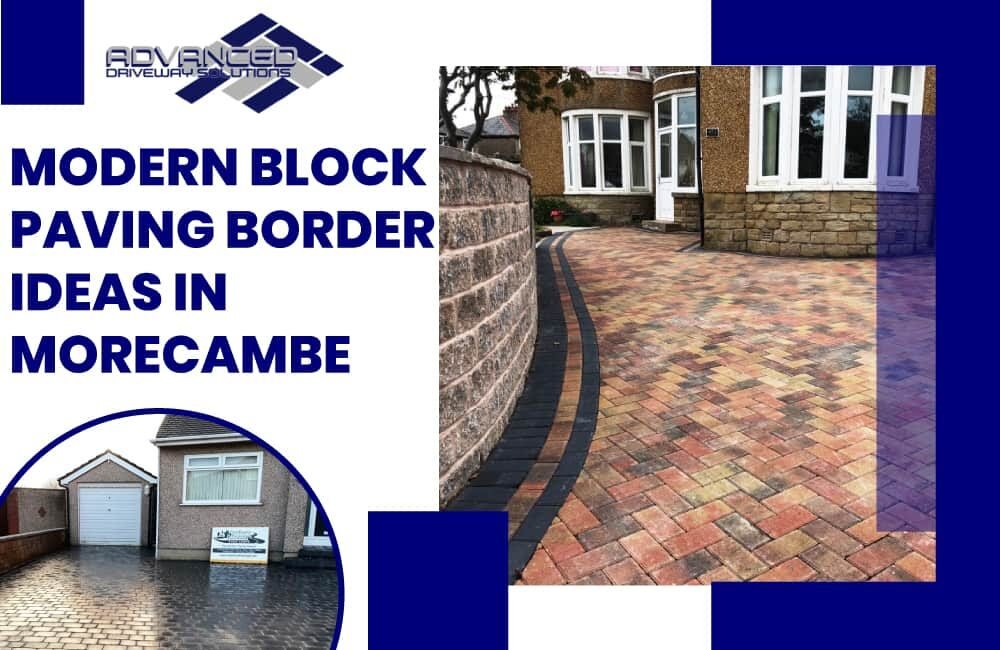
Modern Block Paving Border Ideas in Morecambe

Modern Block Paving Border Ideas in Morecambe UK

In the scenic backdrop of Morecambe, where the splendour of nature collides with city vibes, Modern Block Paving Border Ideas play a pivotal role in shaping the aesthetics and utility of outdoor spaces. Block paving borders aren’t just about looks; they’re the linchpin that uplifts your property’s visual appeal and value. Whether you’re enhancing the curb appeal of your seaside home or looking to add character to your urban garden, choosing the right border design is essential. These borders define your driveway, pathways, and garden beds and serve practical purposes like weed control and structural support. Find creative block-paving border ideas that suit Morecambe’s diverse landscapes, from coastal retreats to suburban neighbourhoods. What are the Benefits of Block Paving Borders? Block paving borders are more than just decorative elements; they offer a range of practical advantages that can significantly enhance your outdoor spaces. In this section, we’ll delve into the key benefits of incorporating modern block paving borders into your Morecambe property: Enhancing Curb Appeal Block paving borders instantly boosts the visual appeal of your home, making a striking first impression for visitors and passersby in Morecambe’s scenic neighbourhoods. Providing Structural Integrity These borders offer structural support to driveways and pathways, ensuring they remain stable and durable, even in Morecambe’s diverse weather conditions. Weed and Erosion Control Block paving borders act as a natural barrier, preventing the intrusion of weeds into your garden beds and helping to control soil erosion, particularly in coastal areas like Morecambe. Design Flexibility You have the freedom to choose from various materials and patterns to create a design that complements your property’s aesthetic and reflects your personal style. Property Value Well-designed block paving borders can increase the market value of your Morecambe property, making it a more attractive option for potential buyers or renters. Popular Block Paving Border Materials You can choose from the following material for your block paving borders 1. Concrete Concrete block paving borders are known for their affordability and versatility. These precast concrete blocks come in various sizes, shapes, and colours, offering flexibility in design. They are durable and can withstand heavy use, making them a practical choice. 2. Natural Stone Natural stone block paving borders provide a timeless and rustic elegance. Materials such as sandstone, limestone, and granite can add a touch of sophistication to your outdoor space. With their unique textures and colours, natural stone borders seamlessly blend into the natural beauty of Morecambe’s landscapes. 3. Brick Brick block paving borders exude classic charm. Fired clay bricks in different hues offer a traditional and enduring appeal. They are ideal for creating structured, well-defined edges that complement various architectural styles. 4. Granite Granite block paving borders are synonymous with luxury and durability. With polished or flamed finishes, granite lends a touch of luxury to your landscape. Its toughness and resistance to wear make it a superb choice for aesthetic and practical purposes. 7 Best Creative Block Paving Border Ideas Some of the best block paving border design ideas are as follows. 1. Classic Soldier Course The classic soldier course block paving border involves placing bricks or pavers vertically, with their long sides standing upright. This creates a neat and uniform edge along driveways or walkways, resembling a soldier’s formation. Pros Clean Aesthetic: Provides a crisp, clean, and formal appearance that complements various architectural styles. Ease of Installation: Relatively straightforward to install due to its linear design. Sturdy: Offers structural support and helps prevent edge spreading. Cons Lack of Creativity: This may be considered less creative compared to other border patterns. Limited Flexibility: Not as versatile for creating intricate designs. 2. Herringbone Pattern The herringbone pattern involves laying bricks or pavers at a 45-degree angle to create a V-shaped or zigzag pattern. This design is visually striking and provides stability. Pros Aesthetic Appeal: A visually appealing, dynamic pattern that adds interest to driveways or pathways. Excellent Interlock: The interlocking design enhances stability and prevents shifting over time. Distributes Weight: Well-suited for areas with heavy traffic as it evenly distributes weight. Cons Complex Installation: Requires careful attention to detail during installation to maintain the pattern. More Materials Needed: The zigzag layout may require more bricks or pavers than other patterns. 3. Mixed Materials Mixed materials involve combining different types of block paving, such as using bricks for the main pathway and natural stone for the border. This design offers a unique and eclectic look. Pros Customisation: Allows for a personalised design with contrasting materials for added visual interest. Versatility: Combining materials can complement the overall aesthetic of your property. Highlighting Features: Can draw attention to specific areas like flower beds or focal points. Cons Cost: Mixing materials can be more expensive than using a single material. Maintenance: Different materials may require varying levels of maintenance. 4. Curved Borders Curved block paving borders create gentle curves and flowing lines along the edges of driveways, walkways, or garden beds. This design softens the landscape. Pros Natural Flow: Curved borders mimic natural shapes, adding a sense of fluidity and softness to your outdoor space. Visual Interest: They can break up monotonous straight lines and add visual interest. Flexible Design: Provides flexibility in shaping the borders to fit your landscape’s unique contours. Cons Complex Installation: Creating smooth curves may require skilled installation. Potentially Higher Cost: Design complexity can lead to increased installation costs. 5. Geometric Patterns Geometric block paving borders involve the use of various geometric shapes, such as triangles, squares, or hexagons, to create intricate and visually appealing designs. Pros Artistic Expression: Allows for artistic expression and customisation with endless design possibilities. Unique Appeal: Creates a unique and eye-catching border that stands out. Enhances Outdoor Aesthetics: Elevates the overall look of your outdoor space with a touch of creativity. Cons Complexity: Designing and installing intricate geometric patterns can be time-consuming and challenging. Maintenance: It may require extra care to keep the patterns looking their best. 6. Circular Borders Circular modern block paving borders feature curved, circular designs that encircle specific areas, such as flower

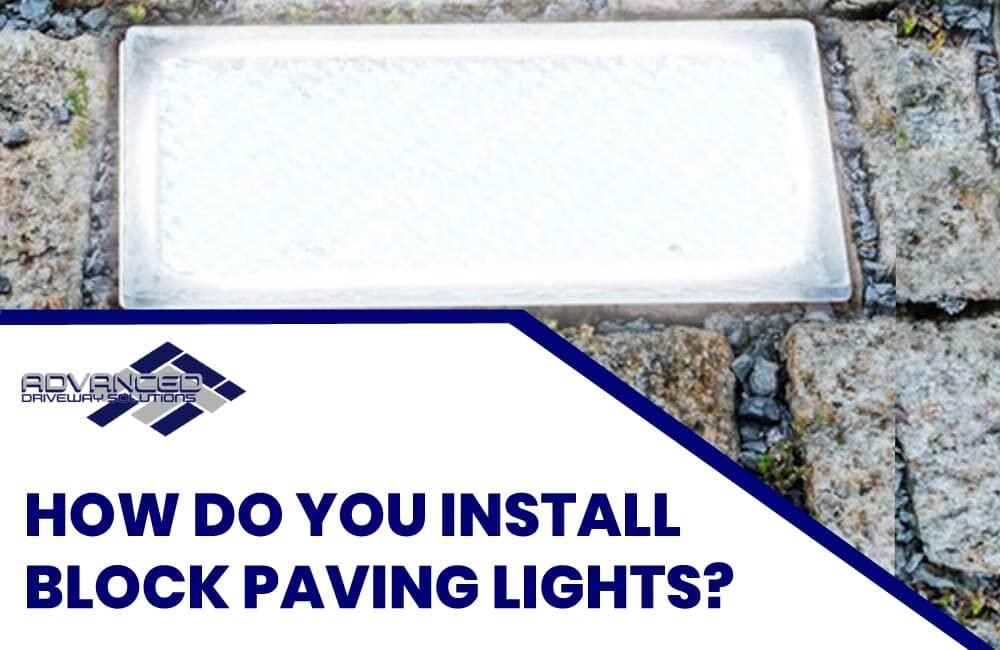
How Do You Install Block Paving Lights?

How Do You Install Block Paving Lights Block Paving Service in Morecambe

There’s an undeniable allure in blending the classic with the contemporary, especially when it comes to home and landscape design. Block Paving Lights, seamlessly integrated into blocks, provide a perfect example of this harmony. By illuminating pathways, driveways, or patios, these lights enhance the aesthetic appeal and serve a functional purpose, ensuring safer navigation during the twilight hours. As homeowners and designers increasingly lean towards modern, sleek, and efficient design elements, paving lights have become popular. Their discreet presence during the daytime subtly transforms into a luminous display as night falls. The result? An outdoor space that glows with sophistication, turning ordinary pathways into inviting, radiant walkways that captivate the eye. “As homeowners and designers increasingly lean towards modern, sleek, and efficient design elements, paving lights have highlighted the evolution of outdoor aesthetics. Their discreet presence during the daytime subtly transforms into a luminous display as night falls. In the same vein as modern design trends, these lights amplify the ambiance of any outdoor space. The result? Pathways that glow, turning ordinary walks into radiant avenues that captivate the eye.” But it’s not just about following a trend. The rise in paving lights’ adoption stems from an appreciation of their dual benefits. Enhancing nighttime visibility ensures reduced trip hazards, making spaces safer for family and guests. What Is Inground Lighting? Inground lighting refers to light fixtures that are installed below ground level, typically flush with the surface, to illuminate surrounding areas or objects from below. These fixtures are often sealed and weather-resistant to withstand foot traffic, weather conditions, and other external factors. 6 Different Types Of Block Paving Lights You can choose from the following six different types of lighting for your landscaping. 1. Solar Paving Lights These lights are powered by solar panels, typically integrated into the design. They absorb sunlight during the day and automatically illuminate when it gets dark. They’re energy-efficient and don’t require any wiring, making installation easier. 2. LED Inground Lights LEDs (Light Emitting Diodes) are energy-efficient, long-lasting, and provide bright illumination. LED inground lights are designed to sit flush with the surface and are often used in driveways, pathways, and patios. 3. Drive-over Lights Specifically designed to withstand the weight and pressure of vehicles, these are typically used in driveways. They’re robust and durable and ensure safety without car traffic damage. 4. Recessed Block Lights These are lights that are set within the paving blocks, providing a seamless look. The light shines upward from the block, creating a subtle and elegant glow on the surface. 5. Motion-activated Lights These lights are equipped with sensors that detect motion. They illuminate when someone approaches, providing light as needed and conserving energy when not in use. 6. Waterproof Strip Lights These flexible LED strips can be integrated into gaps between paving blocks or along the edges. They’re waterproof, making them suitable for outdoor use, and they can create continuous lines of light. What Are the Benefits of Block Paving Lights? When you add lights to your block paving, this provides you with several benefits. 1. Enhanced Safety Paving lights significantly improve nighttime visibility on walkways, driveways, and patios. Illuminating the ground reduces trip hazards and ensures safer navigation in low-light conditions. 2. Aesthetic Appeal Beyond functionality, paving lights add a touch of modern sophistication to outdoor spaces. They transform ordinary pathways into radiant walkways, giving properties a luxurious and contemporary look. 3. Increased Property Value A well-lit outdoor area not only enhances curb appeal but can also increase a property’s market value. Potential buyers often see added lighting as both a security feature and a design enhancement. 4. Energy Efficiency Many modern paving lights use LED technology or solar power, making them energy-efficient. This means homeowners can enjoy the brilliance of the lights without a significant increase in energy costs. 5. Durability and Longevity Designed to be walked on or driven over, paving lights are constructed to be robust and durable. Proper installation and maintenance can last for years, withstanding various weather conditions. How To Choose the Right Paving Light? Choosing the right paving light is essential for both aesthetic and functional purposes. Here’s a guide to help you make an informed decision: Decide between safety-oriented or decorative lighting. Match light size to paving block dimensions and consider the area’s scale. Choose appropriate lumens based on the desired illumination. Consider LEDs or solar-powered options for cost savings. Opt for weather-resistant and foot traffic-safe lights. Decide between DIY-friendly options or lights that may need professional installation. Choose between wired or solar, considering consistency and installation ease. Select styles that complement your outdoor aesthetics and desired color temperature. Determine a spending limit and seek the best value options. Prioritize lights with minimal upkeep needs. Step-by-Step Guide to Installing Block Paving Lights Step 1. Planning & Layout Before you begin any physical work, it’s crucial to map out your space. Consider natural pathways or focal points to measure the area you want to illuminate. With the dimensions in hand, sketch a rough layout on paper or use chalk on the ground to mark where each light will be positioned. This initial step ensures even spacing and optimal lighting distribution, helping to achieve both aesthetic appeal and functionality. Step 2. Tools & Materials Preparation Ensure a smooth installation process by organizing all necessary tools and materials beforehand. Tools Tape Measure Shovel or Post Hole Digger Trowel Hammer and Chisel Power Drill with Masonry Bits Screwdrivers Wire Stripper Voltage Tester Level Conduit Bender Materials Light Fixtures Electrical Cable Weatherproof Junction Boxes Conduit Sand or Gravel Wire Connectors Grounding Rods Circuit Breaker or Fuse Timer or Light Sensor Weatherproof Sealant By gathering everything in advance, you can avoid unnecessary interruptions and ensure you have everything you need at your fingertips, streamlining the process. Step 3. Safety First – Turn Off Electricity If you’re working with wired paving lights, it’s imperative to prioritize safety. Before starting any work, turn off the electricity to the area you’ll be working in. This ensures you can